Posts

all about Jal Neti (part-2)
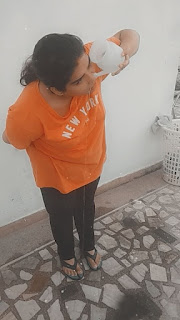
Image
 Okay so in my last blog ( Jal Neti Part-1 ),  I covered the following topics :- 1. Introduction  2. Selection of the Neti Pot 3. Preparation of water  4. WHY SALT WATER IS USED INSTEAD OF ORDINARY WATER ? 5. Position of hand while holding the Neti pot  6. How to do it :- 7. Removing the nozzle  8. Kapaalbhati kriya for drying the nostrils. If you haven't read it yet go read it now 👉 I have uploaded pictures and videos on my Instagram feed and Facebook page both about all these topics.Go check it out there on @timetocure Benefits :- √ R emoves mucous and pollution from the nasal passages allowing air to flow without obstruction. √ H elps and prevent manage respiratory tract diseases and makes respiratory system stronger. √ M aintains good health for the eyes, ears and throat. √ R elieves muscular tension of the face and helps the practitioner to maintain a fresh and youthful appearance. √ H as a calming and soothing influence on the brain. √ A lleviates anxiety, anger and depress

all about Jal neti part 1

Image
Introduction :- Yoga and Ayurveda suggest various ways to cleanse your body so that it can function better. One of the age-old techniques that have been used to clean the respiratory system and remove toxins from the nasal passage is called Jal Neti . It  is one of the six purification procedures or ' Shatkarmas '. It  is a natural technique used by yogis to prevent respiratory ailments and most importantly, to be able to breathe well. Yogis have practiced it for centuries and still vouch for its powerful benefits.  Selection of the Neti Pot For neti a special neti lota (rounded vessel) called as 'Neti Pot' should be used. This pot can be of plastic, pottery, brass or any other vessel which doesn't contaminate the water. One thing you must keep in mind while selecting the pot that the nozzel on the end of the spout should fit comfortably into the nostril so that the water doesn't leak out. You can even use a teapot only if it's tip is not too large or sharp.

here's why you must do palming for stress and eye strain.

Image
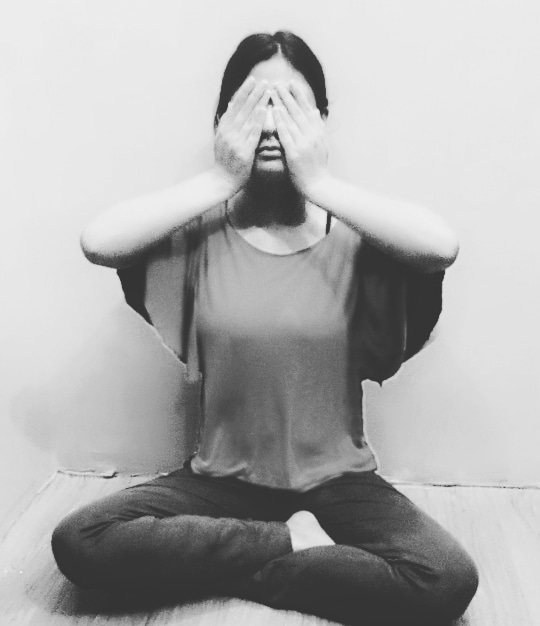
In our very active modern lives, it's very easy to have our nervous systems on high gear, from the blue light of our computers and phones to ads on TV's  This influences, among other things like it propitiates the aging speed of our bodies and derails things such as digestion or our ability to produce essential hormones. Often at the end of the yoga class while in seated position the teacher will ask you to rub your hands together this will create the heat and then place them on your eyes and this activity feels so much relief. It feels a bit like an internal light switch as if you dimmed the lights inside your body mind. This practice is known as Palming. Palming  was actually invented by Tibetan yogis, is one of the most relaxing things you can do for your eyes  Our hands are said to be healing. However their power isn't limited to spiritual masters. Everyone can use their hands to heal themselves Benefits of Palming : You may notice that palming relaxes more than your ey

Top 10 reasons why you must do Sun gazing daily

Image
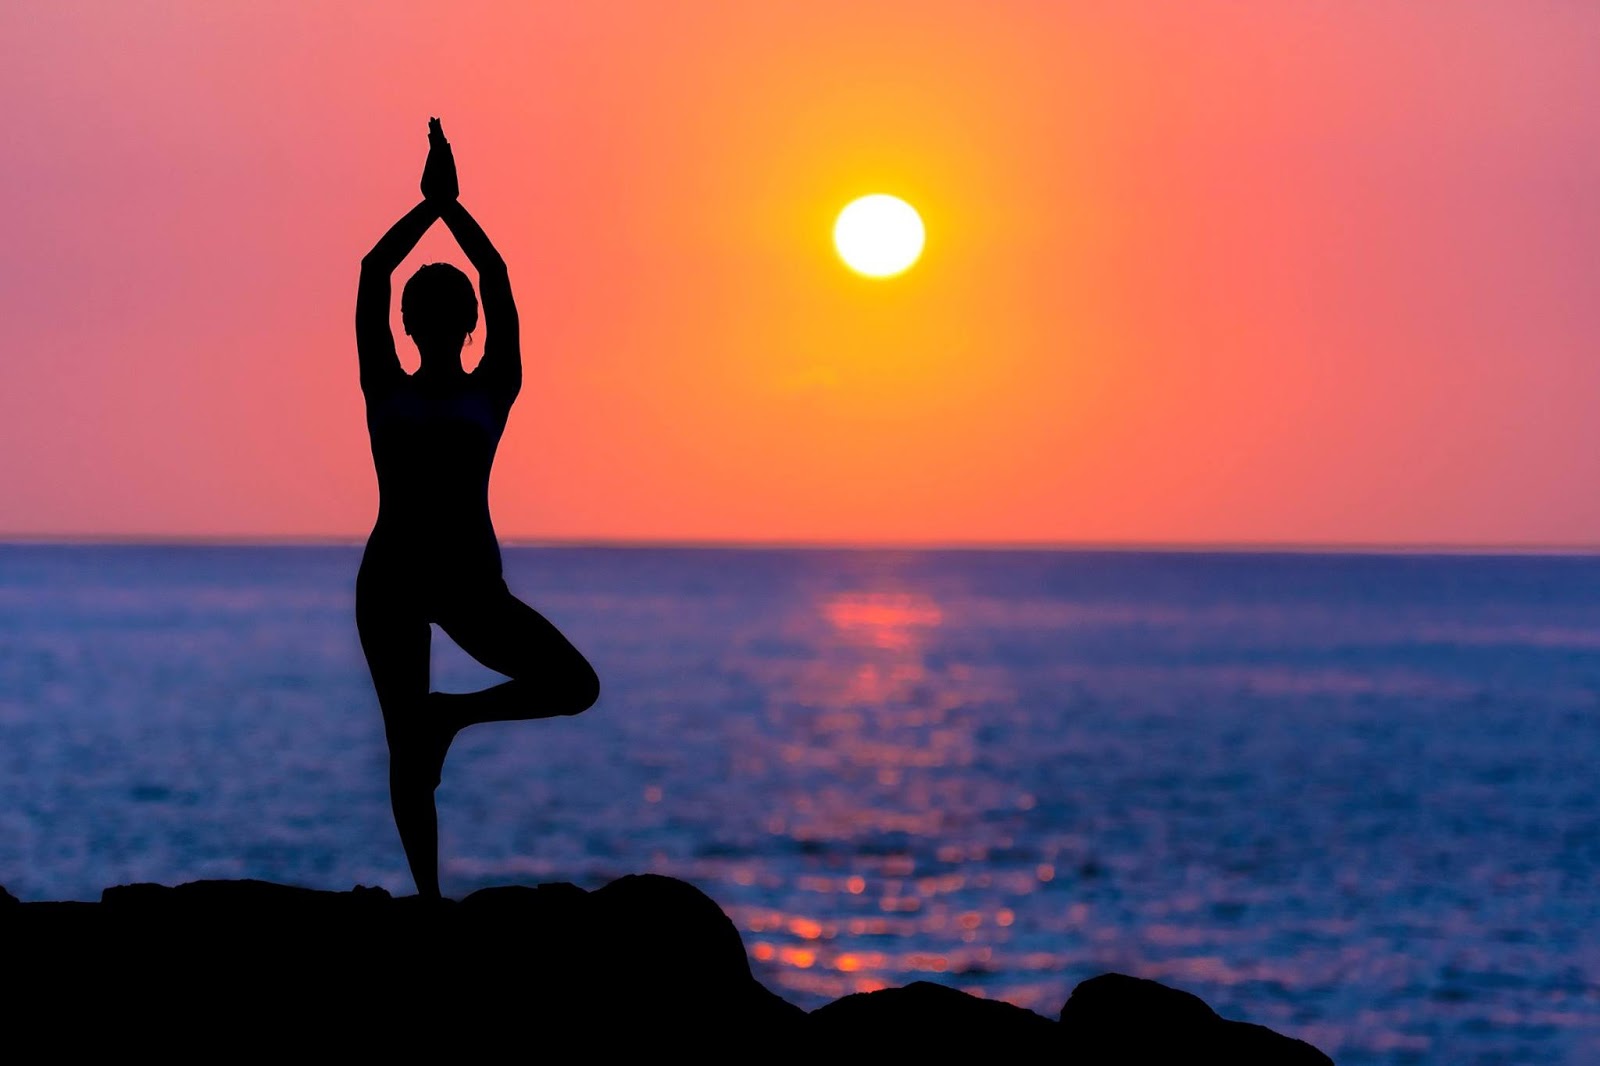
In scientific terms the brain is a powerful recipient and the retina and the pineal gland (third eye) are  equipped with photo receptor cells, a kind of photo analysis could be taking place during this activity, which provides a person with all kinds of energy and vitamins that are required for the proper functioning of his internal organs. Best to practice it in the morning, within an hour of sunrise, when the sunrays are light as they're free from UV rays at that time. How to  practice ? . • Stand barefoot on the ground or your balcony and look directly into the sun. • Remove contacts or glasses and don’t sun-gaze through windows. • Look directly at the sun as long as it is bearable to you and later build it up to 30 minutes a day • On cloudy days, gaze at the position where the sun is behind the clouds After finishing the practice, its best to take your day forward with some Yoga routine or any workout. Quick 10 benefits of Sun Gazing : 1. Best thing to s

5 hasta mudras (hand gestures)

Image
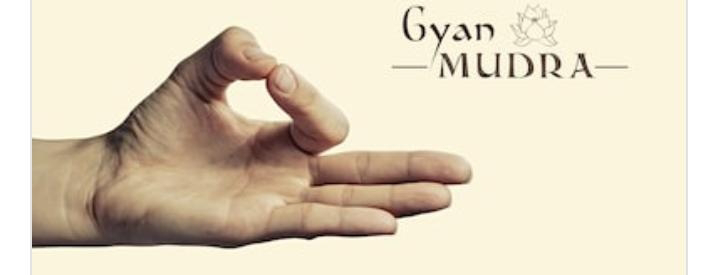
There are so many kinds of hasta mudras but in this article iam explaing 5 meditative Hasta Mudras along with their benefits. The 5 hasta mudras (hand gestures) 1. Jnana mudra (pyschic gesture of knowledge). 2. Chin Mudra (psychic gesture of consciousness). 3. Yoni Mudra (attitude of the womb or source) 4. Bhairava Mudra (fierce or terrifying attitude) 5. Hridaya Mudra (heart gesture). Scientific facts behind making hasta mudras Each finger represents one of the  5 elements  when activated helps to keep the body and mind in balance.  The index finger represents air element which helps to reduce the excess air in the body thumb represents fire element which increases the heat reducing the toxins. The middle finger represents space that helps with the supply of oxygen to the heart. The ring finger represents Earth element that helps to strengthen the muscles of the heart. When pressed increases the respective elements  thereby bringing balance to all the elements. The palms and

all about Mudras

Image
The word " Mudra " is actually derived from Sanskrit which means a ' gesture ' or an ' attitude '. Mudras are psychic, emotional, devotional and aesthetic gestures which can  be experienced as attitude of energy flow intended to link the pranic force with the cosmic (or universal) force. In scientific terms, mudras provide a means to access and influence the unconscious reflexes and primal instinctive habit patterns that originate in the primitive areas of the brain around the brain stem.  Mudras are a combination of subtle physical movements which alter mood, attitude and perception deepening the awareness and concentration. It might involve the whole body in a combination of Asana, Pranayama, Bandha and visualisation techniques or it may be a simple hand position. Mudras are introduced after some proficiency has been attained in Asana, pranayama and bandha and gross blockages have been removed. The aim is to create fixed, repetitive p

The most common mistakes we do while doing The "Hastouttaan Aasana" or The "Raised Arms Posture"

Image
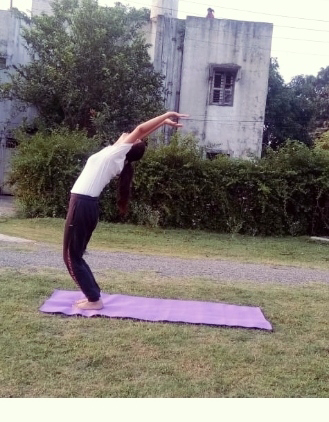
Common Mistake Number 1: WE BEND OUR KNEES FOR GOING MORE BACK. This is very wrong posture because in the correct one we have to keep our thighs tight and knees straight then bend our spine backward but in the pic above you can see that the thighs are loose and knees are bend this is even looking really bad so make sure that you never do "Hastouttaan Aasana" in this way as it will harm your knees as well as your back. Common Mistake Number : 2 WE GO BACK WITH HANDS JOINED IN NAMASKAAR MUDRA   So , joined hands while bending back is wrong in this Aasana because this Aasana is actually a chest opener and it activates our Heart Chakra but if we do it with joined hands (as shown in the above picture) then it will not give us its fullest benefits. Therefore always remember to keep your hands shoulder-width apart while doing the "Hastouttaan".  Common Mistake Number : 3 WE HOLD OUR BREATHING WHILE WE ARE BACK BENDING.  This is the most common probl